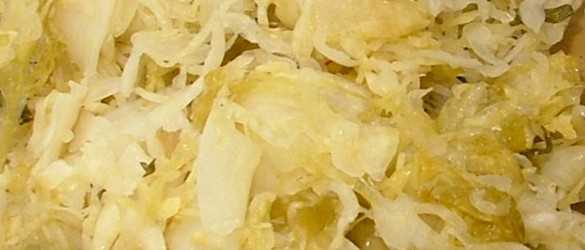
Sauerkraut is the classic food of Eastern Europe, derived from the German term for ‘soured cabbage’. Like many leafy greens the cabbage is a hybrid of the wild mustard (Brassica oleracea), and its healing and medicinal virtues have long been extolled by the ancients. Of cabbage, Cato the Elder claimed many uses: in the treatment of digestive disorders and colic, as well as arthritis, ulcers, nasal polyps, deafness and tumors, and applied topically as a poultice for wounds, sores and infection. In the 1950s, raw cabbage juice caught the attention of researchers, and was found to have anti-ulcer and anti-inflammatory effects in the digestive tract. Like rapini and other brassicas, cabbage contains organosulfur compounds including phenethyl isothiocyanate and sulforaphane that have been shown to have potent antioxidant and anti-tumor properties.
Given the rather ubiquitous presence of cabbage and cabbage-like sisters including sui choy all over the world, it is no surprise there is such a diversity of live culture cabbage dishes, from the traditional European sauerkraut, to Kimchi (p. 186) in Korea. The following recipe favors the European palette, and contains herbs that are good for relieving gas and bloating, but can just as easily be left out for a simpler flavor.
Ingredients
2 lbs. grated cabbage (~ one cabbage head)
1 onion, chopped fine
1 tbsp. salt
½ tsp. dill seed
½ tsp. savory seed
½ tsp. coriander seed
½ tsp. black pepper
½ tsp. caraway seed
Directions
Mix the grated cabbage and onion in a large, clean mixing bowl with clean hands, and add in the salt and herbs. Knead and squeeze the vegetables well for about 5 minutes, ensuring that everything is well mixed and sloppy, as the salt and kneading will pull a lot of the water out of the veggies. Stuff this mixture into a clean, dry, large wide-mouth mason jar, pressing down as you add each handful, allowing the juices to rise above the level of the vegetables. Seal the jar and set it aside for 1-2 hours, and then with clean hands, push down again on the mixture so that more brine rises to the surface. If there isn’t enough brine, top up the jar with some water, seal the jar and shake well, ensuring that the veggies are now lying below the surface of the brine. Any material that lies above the surface of the brine may get moldy. Put the jar aside, but make sure to open the lid and release the (stinky) gasses that accumulate a few times a day, for the first few days. The ferment is typically established within 4-5 days, after which you can drain off any excess liquid that you added. Reseal and set aside for 2-3 weeks and then enjoy, storing in the fridge to preserve the flavor and prevent it from becoming too sour.
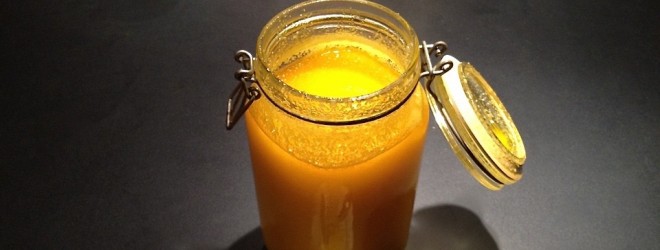
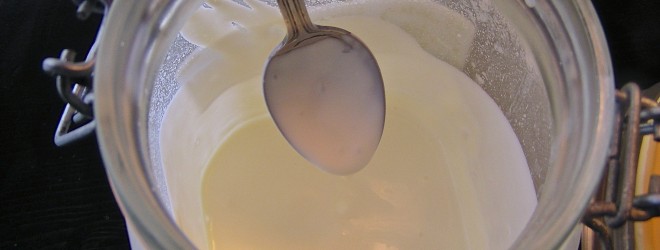
 If you can’t get access to raw milk or cream, cultured butter can also be made from pasteurized cream. Look for the highest percent fat content you can find (33% or more), making sure that the only ingredient is 100% cream (i.e. with no milk solids, stabilizers or flavors added). Scald the cream using the same method as boiled milk (p. 173) and let it cool to room temperature. To ferment the cream, use either a sour cream starter or use 1 tbsp of commercial sour cream or buttermilk per cup of cream. Mix into a clean dry jar and let sit for 2-3 days, tasting it periodically with a clean, dry spoon to get the desired flavour.
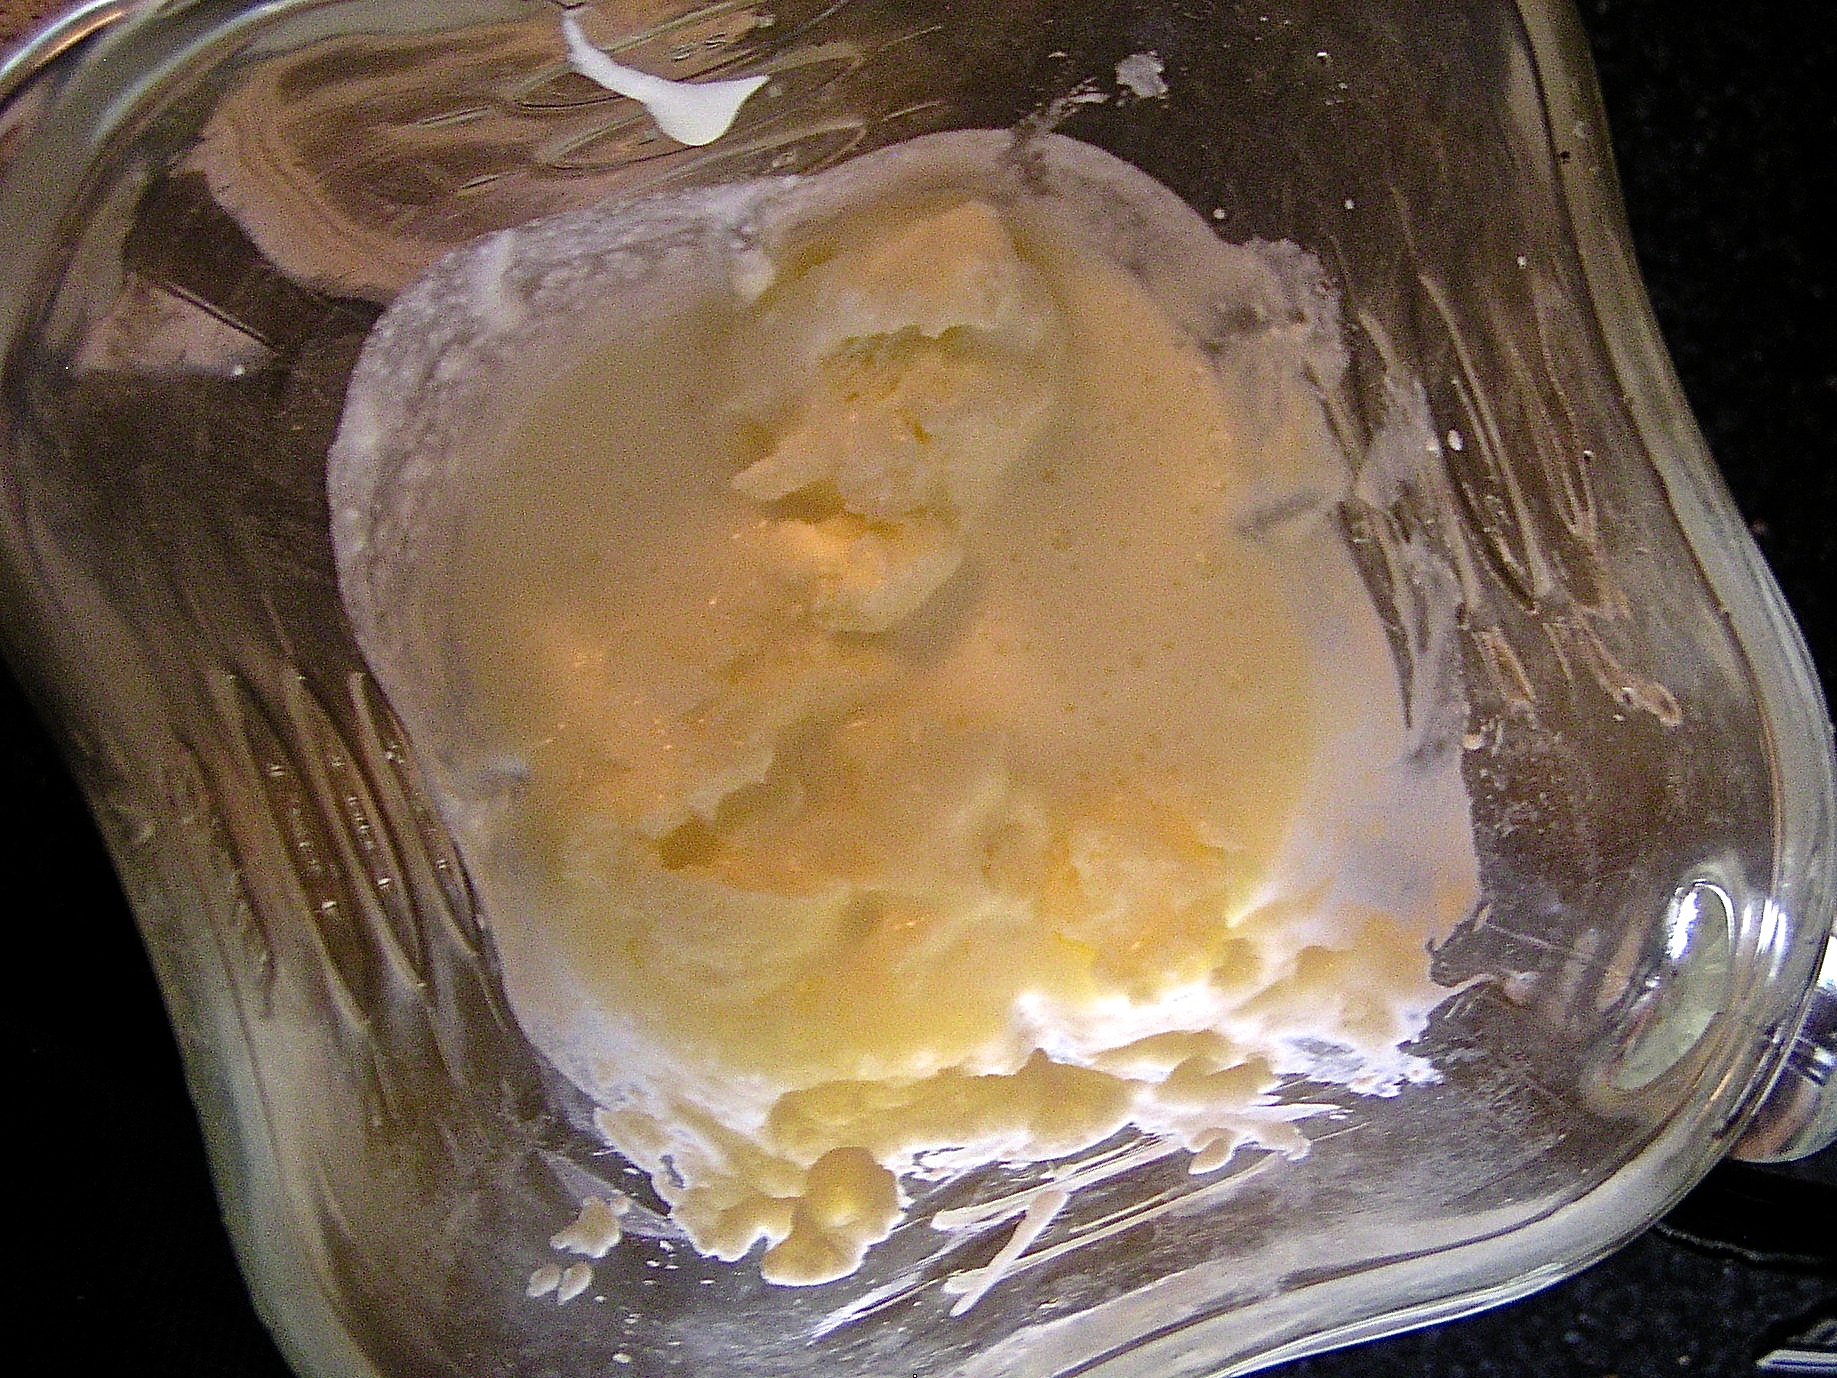
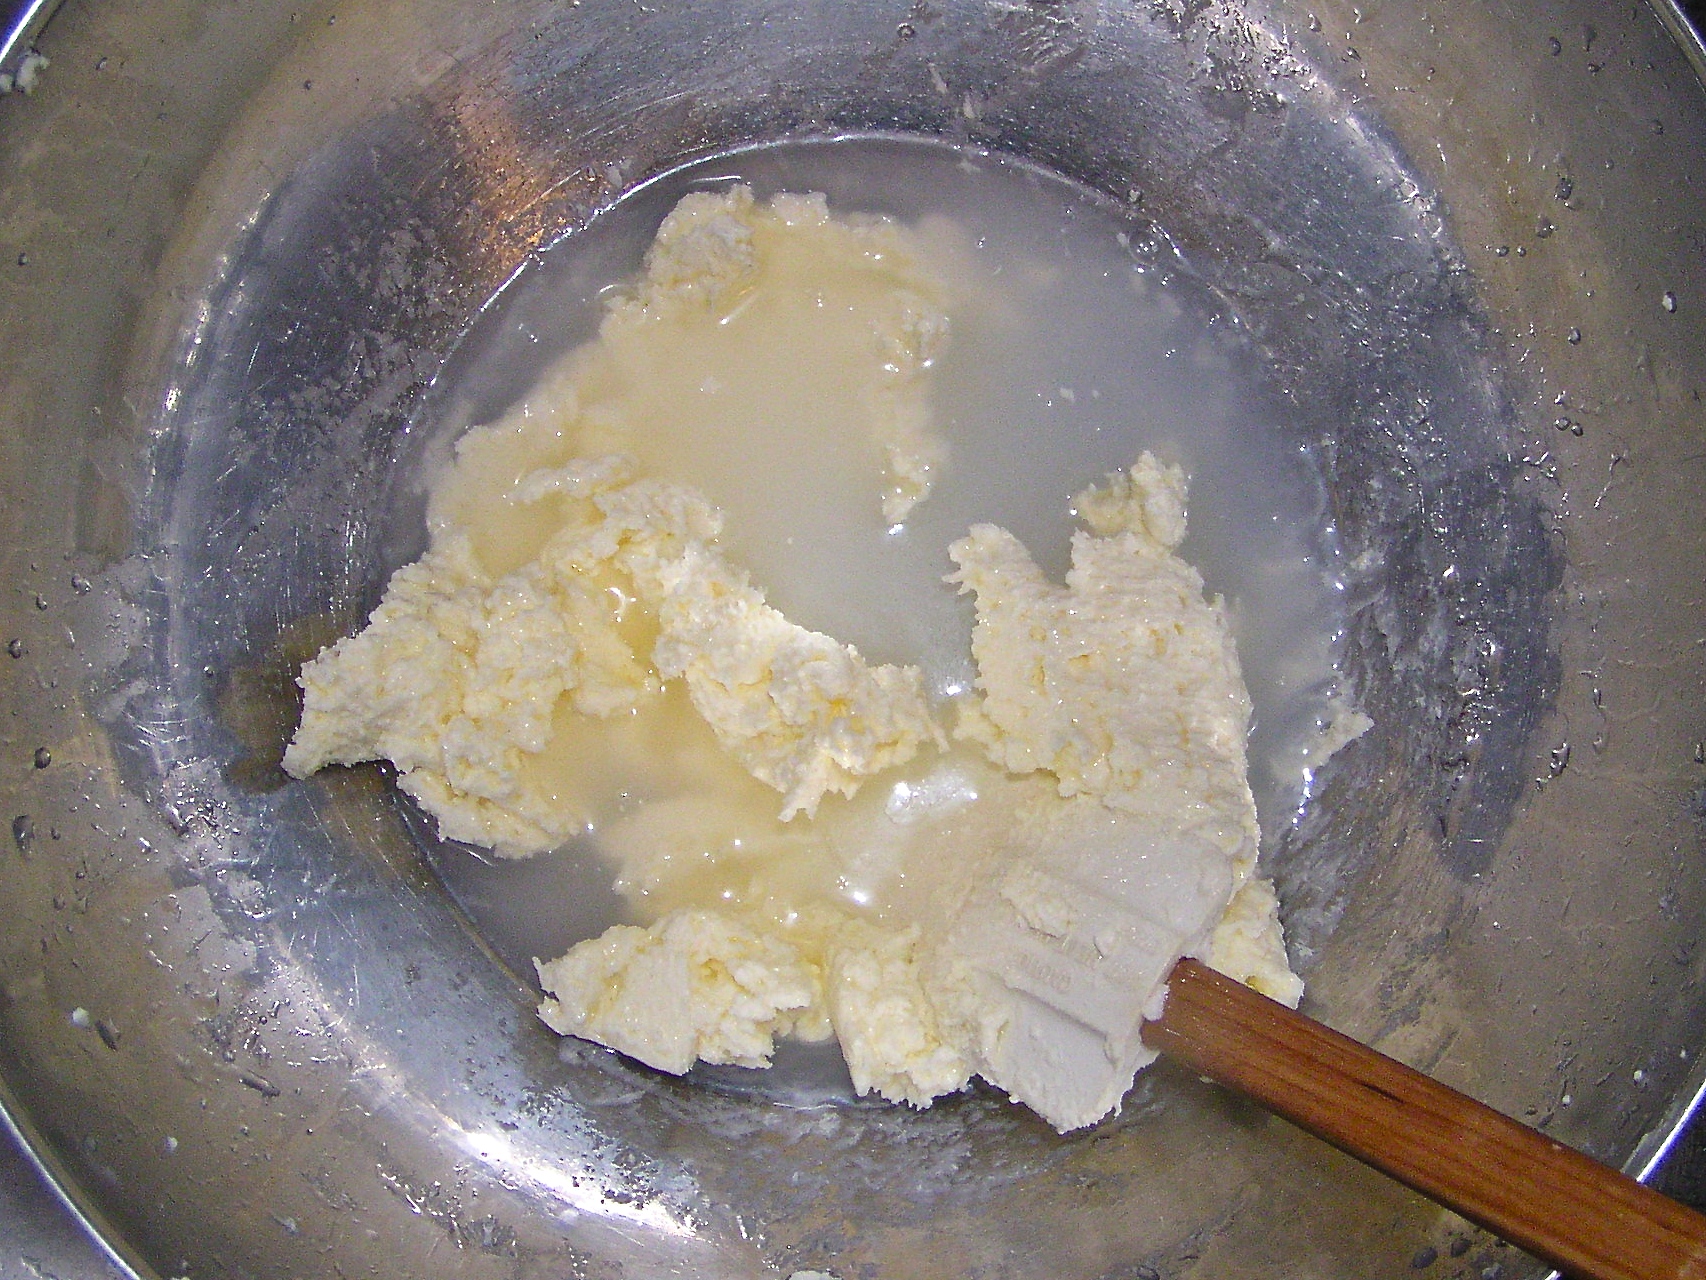
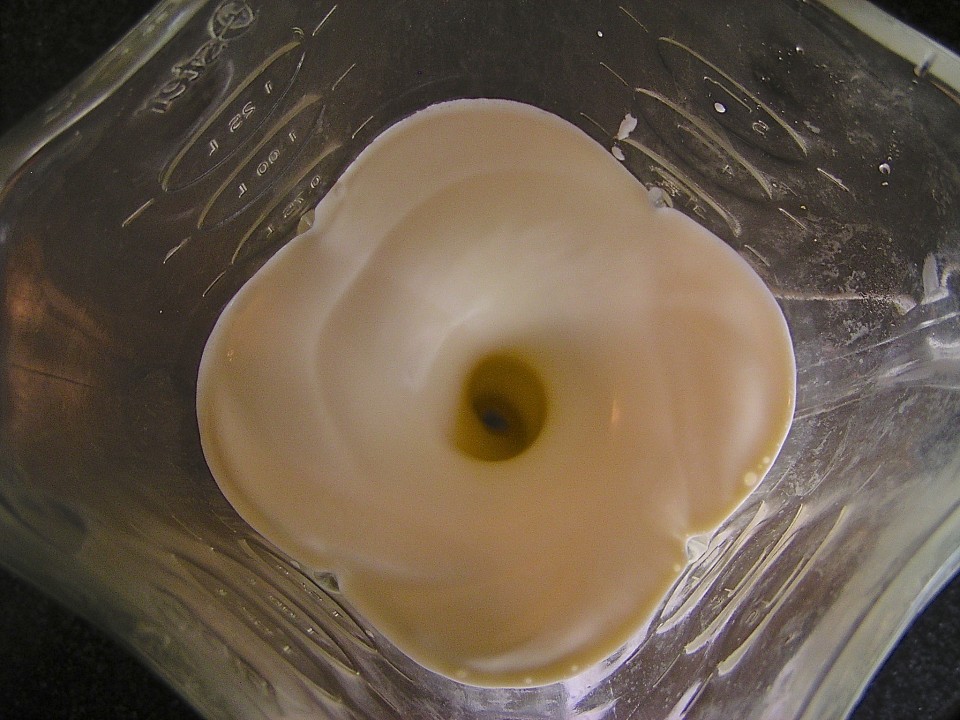 Once the cream has fermented, the water and proteins must be separated out to make the butter. To do this the soured cream needs to be churned, forcefully breaking apart the molecular structure of the cream to allow the butterfat to congeal, leaving behind the buttermilk. Many methods can be used to churn butter, from the simple wooden churners still used in developing countries, to the large electric churners used in commercial dairy operations. At home either an empty mason jar or a regular kitchen blender is all the equipment that’s needed.