I will admit now that I am a butter-holic, and never bought into the claim that butter is bad. Butter is awesome! But please make sure it’s sourced from organic, grass-fed milk. In honor of this fabulous food, I am submitting a recipe from my new book, Food As Medicine:
Cultured Butter
Most of the butter people eat nowadays is creamery butter, which is butter made from fresh cream. It has a predictably bland, sweet taste very unlike the rich pungent flavor of cultured butter. While creamery butter has its uses, for most of our history humans have almost always eaten cultured butter instead. The primary reason for this is that soured cream is far easier to churn into butter than fresh cream. The side benefit apart from the distinct flavor is that cultured butter is a probiotic food, making it easier to digest than conventional butter. According to Āyurveda cultured butter is a natural rejuvenative (rasāyana), and helps to balance both vāta and pitta. In contrast, creamery butter is more difficult to digest, and facilitates the production of kapha and āma.
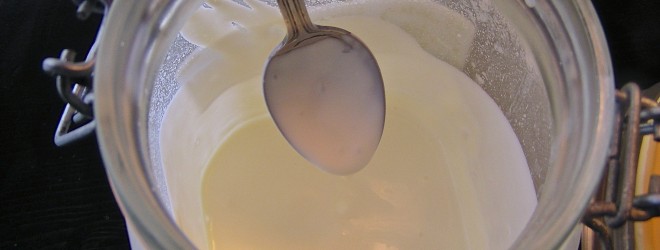
On a traditional dairy farm the process of making cultured butter begins by skimming the cream off the fresh raw milk, and then setting it aside at room temperature (68˚F/20˚C) to culture. Letting the cream sit for a day or so produces a relatively mild-tasting butter, whereas letting it sit for several days produces a much stronger flavor.
 If you can’t get access to raw milk or cream, cultured butter can also be made from pasteurized cream. Look for the highest percent fat content you can find (33% or more), making sure that the only ingredient is 100% cream (i.e. with no milk solids, stabilizers or flavors added). Scald the cream using the same method as boiled milk (p. 173) and let it cool to room temperature. To ferment the cream, use either a sour cream starter or use 1 tbsp of commercial sour cream or buttermilk per cup of cream. Mix into a clean dry jar and let sit for 2-3 days, tasting it periodically with a clean, dry spoon to get the desired flavour.
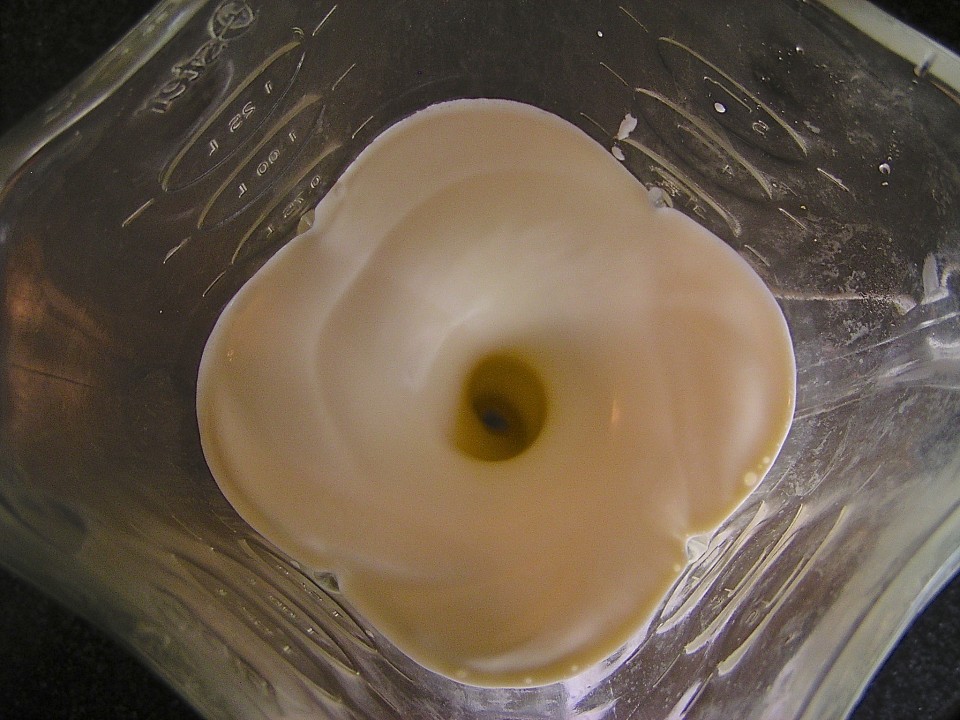 Once the cream has fermented, the water and proteins must be separated out to make the butter. To do this the soured cream needs to be churned, forcefully breaking apart the molecular structure of the cream to allow the butterfat to congeal, leaving behind the buttermilk. Many methods can be used to churn butter, from the simple wooden churners still used in developing countries, to the large electric churners used in commercial dairy operations. At home either an empty mason jar or a regular kitchen blender is all the equipment that’s needed.
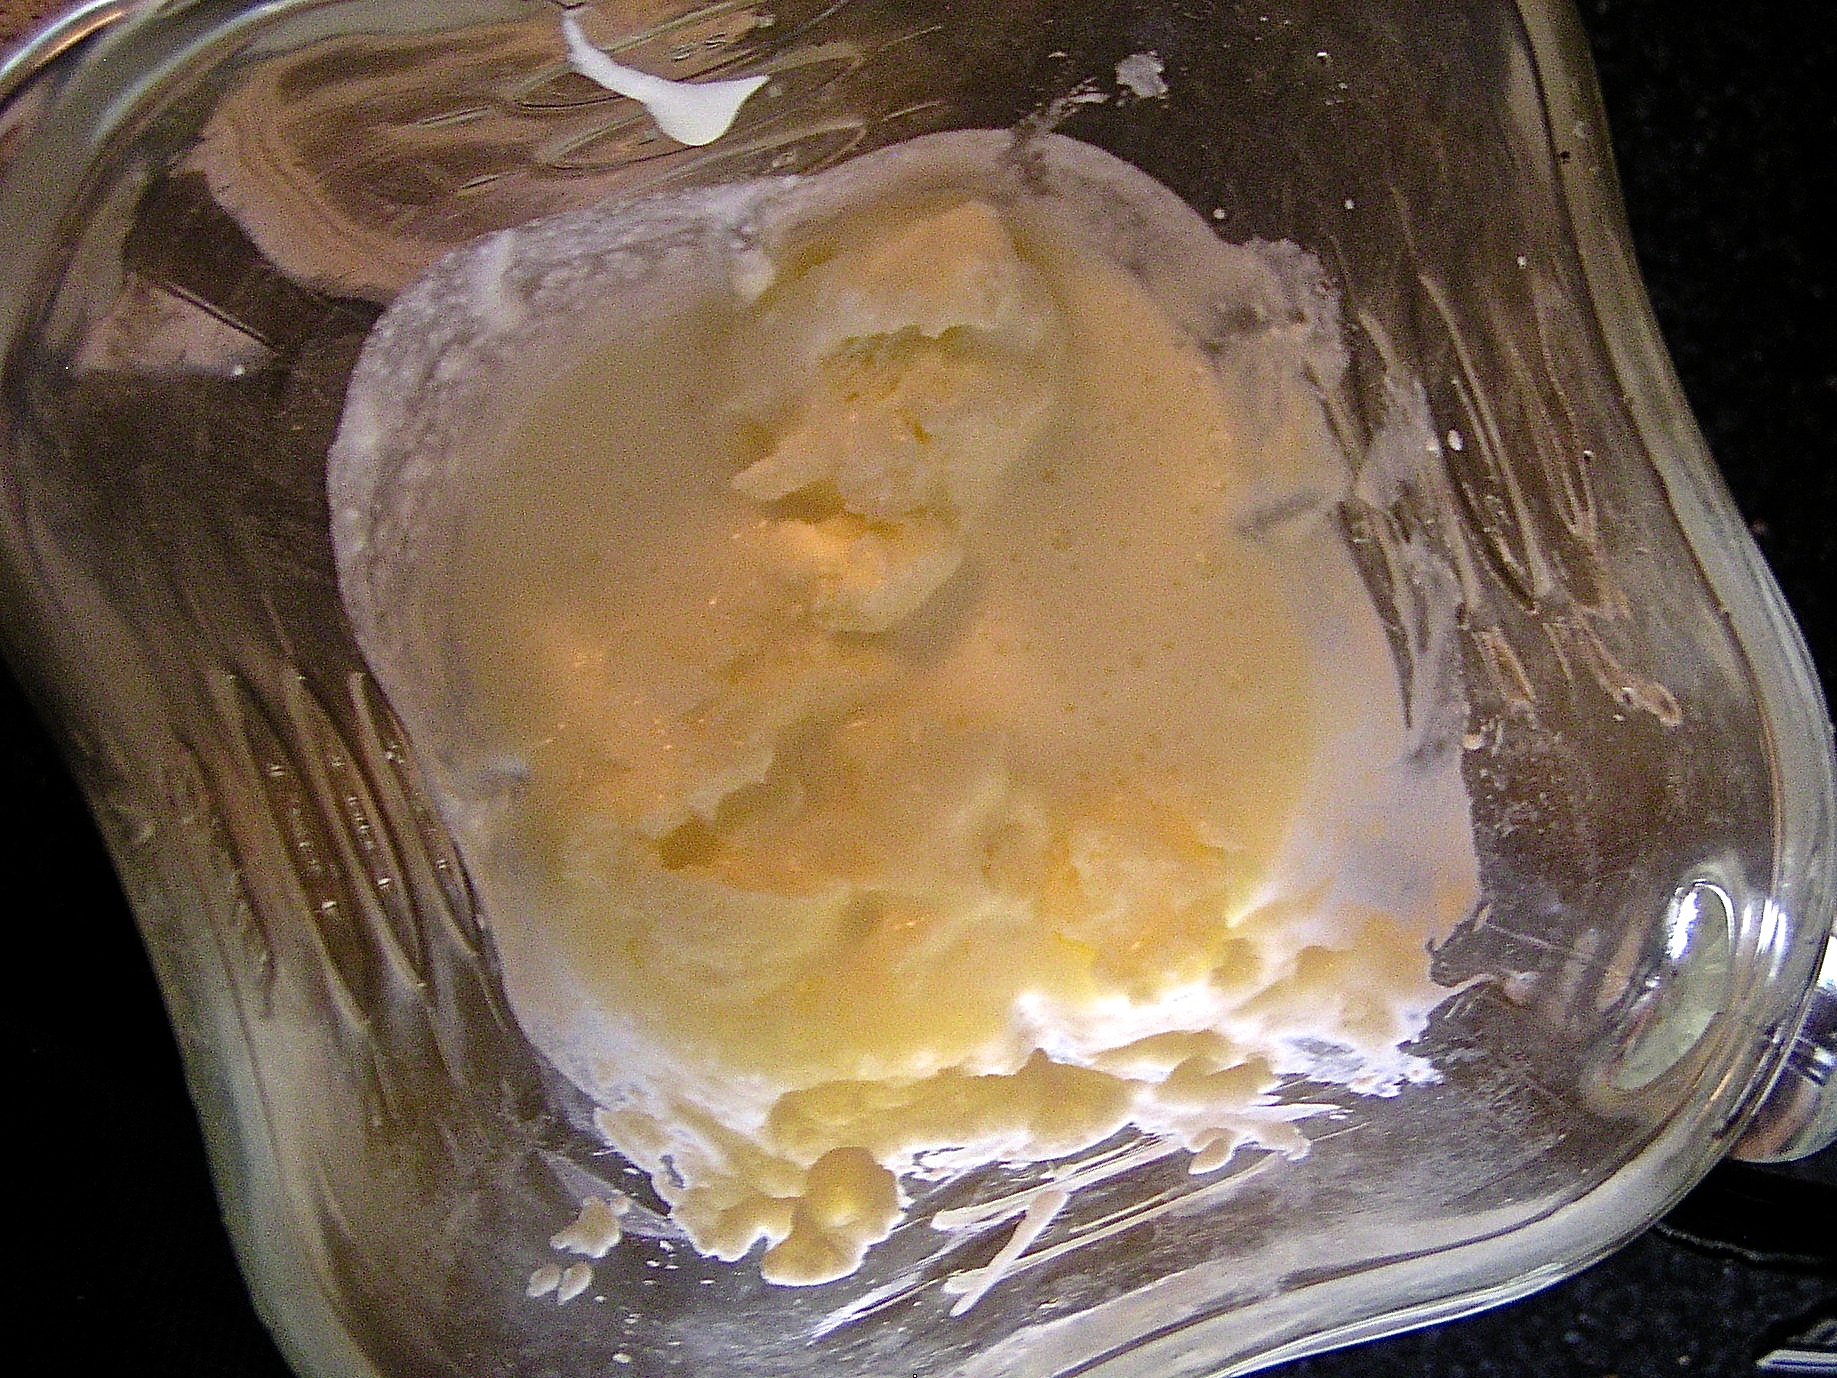 Before churning the butter, reduce the temperature of the cream to between 50-60˚F (10-15˚C), which optimizes the ability of the butterfat to congeal. You can do this by putting the jar of soured cream in a bowl of cold water, or if it’s cool outside set it on the porch. If using the “jar method”, add the sour cream to the jar until it’s half-full and shake vigorously for 15-20 minutes or more. If using a blender, mix the sour cream for about 5-10 minutes on medium speed, after which time the butter and buttermilk will have separated. Pour off the buttermilk and set it aside for later use. Put the butter in a bowl and add cold water to the butter, mixing and working the butter with a wooden spoon to remove any remaining buttermilk.
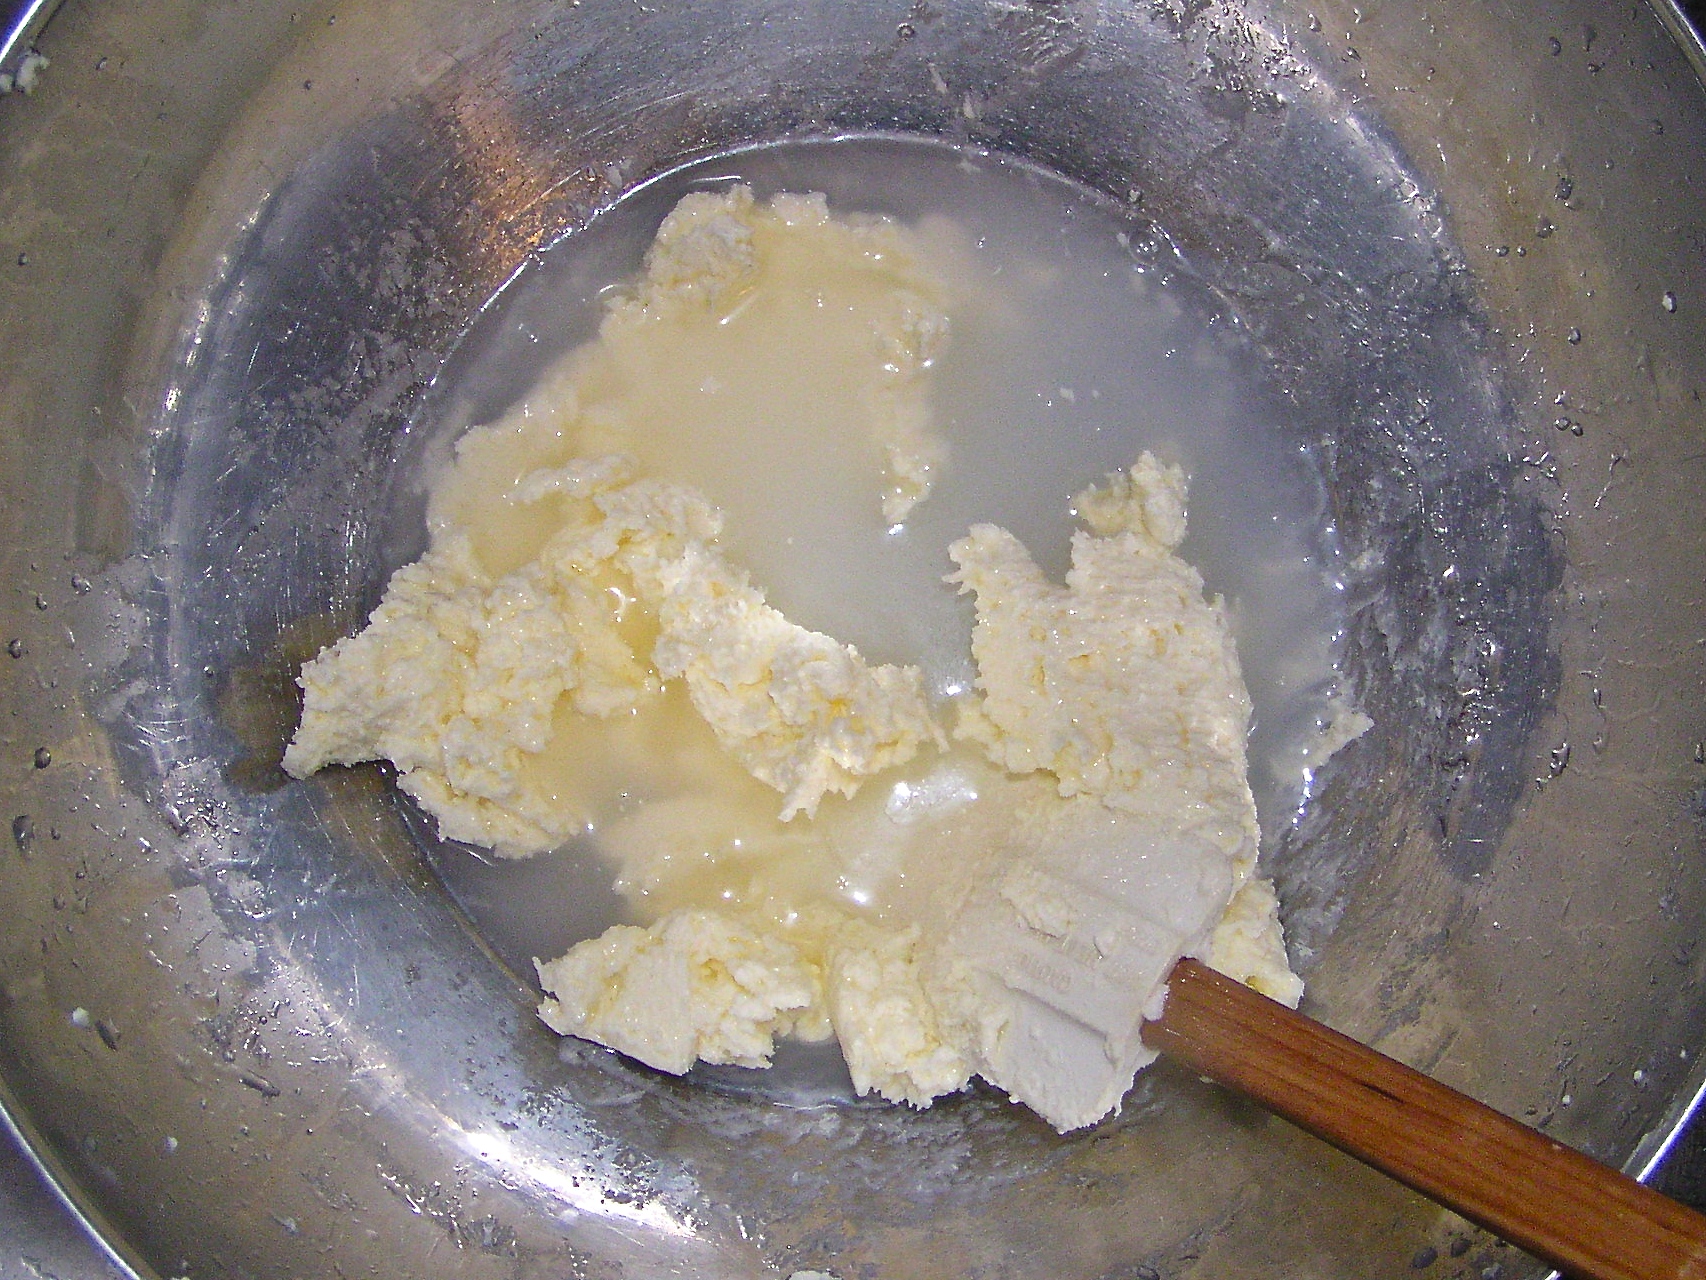 Pour off the water, add some more cold water and repeat until the water is clear. Drain well, and the butter is now ready to use or can be rendered into ghee (p. 194). To preserve the butter for storage, add in between 1-3% sea salt, which for one pound (454 g) of butter is approximately 1 tsp (6 g). Make sure to mix in the salt well so that it is evenly distributed.”